Introduction
Welcome to our documentation contribution guide! We’re excited that you’re interested in helping improve our documentation. This guide will walk you through everything you need to know to make your first contribution.Prerequisites
Before you begin, ensure you have the following:Required Tools & Accounts:
- Node.js version 19 or higher
- npm or yarn
- Git installed on your machine
- A GitHub account
- A docs repository with a
docs.jsonfile - Code editor (we recommend VS Code)
How to Contribute
Follow these steps to make your first contribution:1
Fork and Clone
- Fork the repository by clicking the ‘Fork’ button on GitHub
- Clone your fork locally:
2
Set Up Development Environment
Install the Mintlify CLI:
3
Make Changes
Navigate to your developer-docs directory, and start the development server:A local preview will be available at
http://localhost:3000.Make your changes and test them locally.4
Commit Changes
Stage and commit your changes:
5
Submit Pull Request
- Push your changes to your fork
- Go to the original repository and create a Pull Request
- Follow the PR template and provide a clear description of your changes
MDX Quick Tips
- Check how MDX works. You can see examples in
/essentials
Structure & Navigation
- Place new pages in the most relevant directory (e.g.,
ai-context/,integrations/). - For API docs, follow
api-reference/endpoint/api/v1/...folder conventions. - Update
docs.jsonto surface new sections/pages in the sidebar navigation.
Quality Checks
- Run:
mint devand verify the page renders, links work, and images load - Lint/content sanity: check for broken links, heading hierarchy, and typos
- Keep line length readable; wrap long lines and avoid trailing spaces
Commit and PR
- Commit style:
docs(scope): short summary(e.g.,docs(ai-context): add diagram) - When adding files, update the Directory map in this README (
developer-docs/README.md). - Push your branch and open a PR to
main - In the PR description: include screenshots of visual changes and a brief summary
- Request review from a maintainer; address feedback promptly
fix: ...→ for bug fixesdocs: ...→ for documentation changesfeat: ...→ for new featureschore: ...→ for maintenance tasks
Custom ports
By default, Mintlify usesport 3000. You can customize the port Mintlify runs on by using the --port flag. For example, to run Mintlify on port 3333, use this command:
Mintlify versions
Please note that each CLI release is associated with a specific version of Mintlify. If your local preview does not align with the production version, please update the CLI:Validating links
The CLI can assist with validating links in your documentation. To identify any broken links, use the following command:Deployment
If the deployment is successful, you should see the following: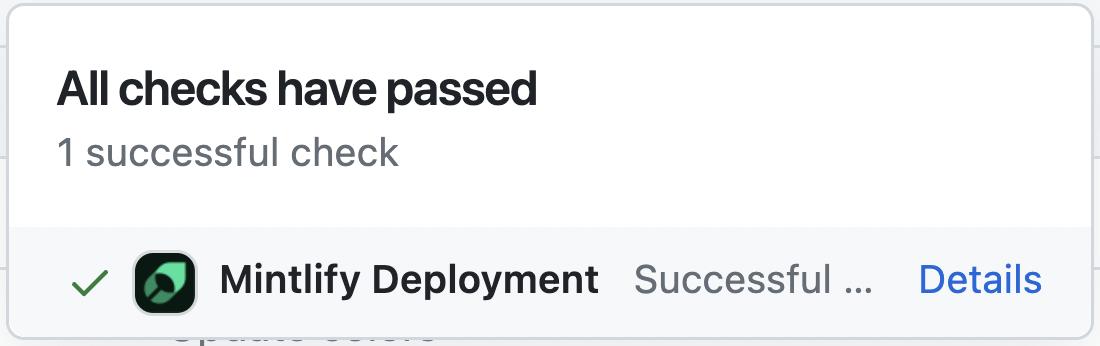
Code formatting
We suggest using extensions on your IDE to recognize and format MDX. If you’re a VSCode user, consider the MDX VSCode extension for syntax highlighting, and Prettier for code formatting.Troubleshooting
Error: Could not load the "sharp" module using the darwin-arm64 runtime
Error: Could not load the "sharp" module using the darwin-arm64 runtime
This may be due to an outdated version of Node.js. Try the following:
- Remove the currently-installed version of the CLI:
npm remove -g mint - Upgrade to Node v19 or higher.
- Reinstall the CLI:
npm i -g mint
Issue: Encountering an unknown error
Issue: Encountering an unknown error
Solution: Go to the root of your device and delete the
~/.mintlify folder. Then run mint dev again.Review Process
Here’s what happens after you submit your PR:- Initial Check: Automated checks will run to ensure your changes meet our basic requirements
- Review: A maintainer will review your PR within 1-2 business days
- Feedback: You may receive feedback requesting changes
- Merge: merged into the
mainbranch.
Once deployed, you can view your changes at docs.getalchemystai.com.
If issues arise, submit a follow-up PR with focused fixes.
Where to Ask for Help
Need help? We’re here to support you:- Discord Community: Join our Discord server for real-time help
- GitHub Issues: Search existing issues or create a new one